
Image retouching can really enhance the details, character and mood of a photograph. Without careful attention it can quickly get out of hand and actually detract from an otherwise good photograph.
Overall my goal when I begin retouching a photograph is to first address the errors and weak points. I will "clean" the photo first. Starting on the person and then moving out to the overall scene. I pay particular attention to the persons skin to remove large or distracting blemishes while being careful not to remove the character of the person. If you remove every mole from someones face that has quite a lot, they begin to look like another person. It's really weird. Another example is for people who have deep set eyes. If you completely remove the shadows under their eyes they too can start "not looking like themselves." Its a bit of a dance and taking your time to see if you went too far. With practice, this gets easier and easier to identify and preserve the unique qualities of a face.
Ideally, in most cases, you know when you've done a good job when it's not completely noticeable that the image is retouched.
While I am taking images I am concentrating on maintaining detail across the lighing range. Trying not to overexpose the brightest parts of the image and also not make the shadow areas too dark and without detail. This way when I am editing I can use all of it to suit the photograph. In same cases overexposing or underexposing can't be avoided so that's when you use it to your advantage and not put the most important parts of your image in those areas knowing, in the editing stage, you won't be able to get those details back.
As a result, the resulting images can be kinda boring and lack contrast. You can always add it in post, but you can't remove it. You want to retain the most detail.
Editing is the next step where you take your photograph, adjust the white balance (which can play an important part of the 'mood' of your photograph). From there you have several options to adjust the lighting and contrast of the image as well using lens calibration files to adjust the normal distortion and vignetting from various lenses. You add in metadata and copyright information too.
There are a few visual effects you can add in the editing stage like adding grain, black and white, vignetting, and color filters. The majority of the work is done in the editing stage.
Most editing settings can be copied and applied to similar images within the same light and can be tweaked to suit the image. When your photo exposures are more consistent, it makes editing more streamlined and quicker.
Retouching is slow and a per-photo process. The work done to one photograph can not be applied to a batch of photos. They would be all wrong and really weird. Peoples eyes are not always in the exact same spot of every photograph.
As I mentioned before, retouching is where you fix peoples skin, remove stray hairs, weird distracting elements, and also really finesse the overall mood and colors of the photograph.
You can also fix issues with grain and sharpness that isn't possible during editing. There is a limit to this and when you push it too far you can ruin a photograph. It's best to start with the best source.
You might be able to fix a bad photo with retouching... but you can make an excellent one, AMAZING!
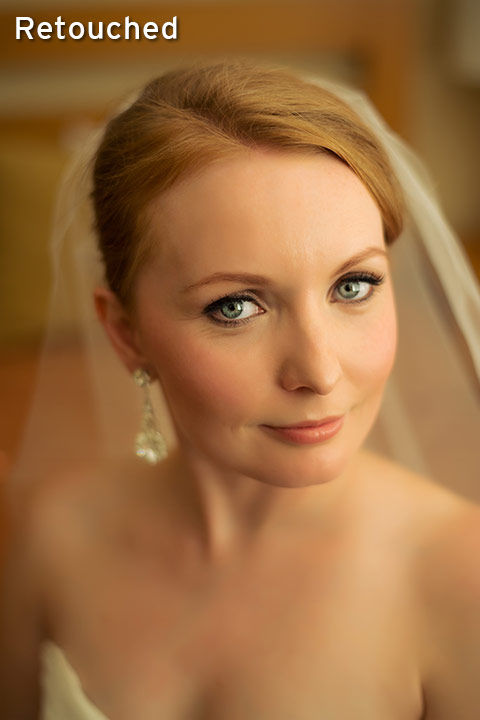
You can see on the left image the main improvement is the removal of some skin bumps, removal of stray hairs, but also unified the overall color to compliment her hair.
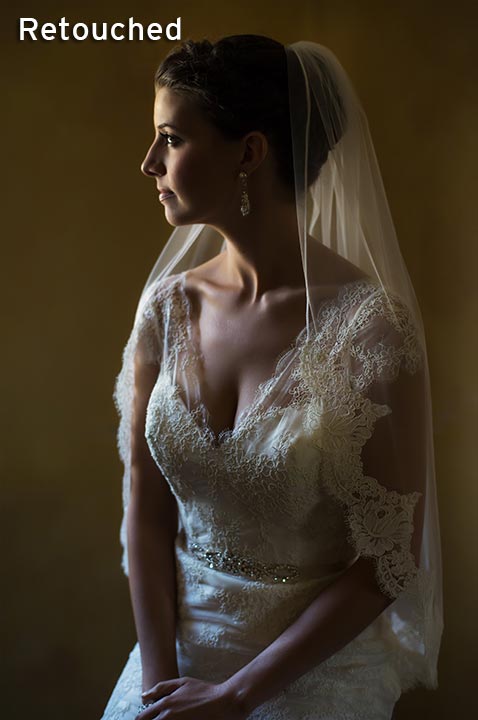
In the second example the overall mood and tone was there but just needed to tighten the contrast, increase detail in the dress and veil and smooth out the skin just a little.
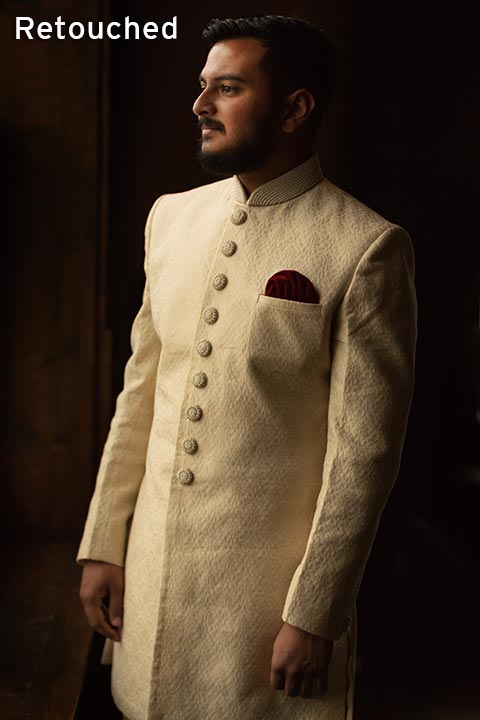
The process is similar for men, I just might not make their skin quite as perfect and smooth. I will remove glaring distracting blemishes but still maintain the overall character and texture. Embrace the ruggedness. Just a clean rugged look.
In the left example I wanted to reduce the light on the wall from the window and move the viewer's eye to him and his face. I cleaned up the skin just a little and increased the overall contrast for a harder edged look.
On the right I wanted to control that window light on the wall, remove the separator behind his head, remove the curtain at the bottom of the frame.
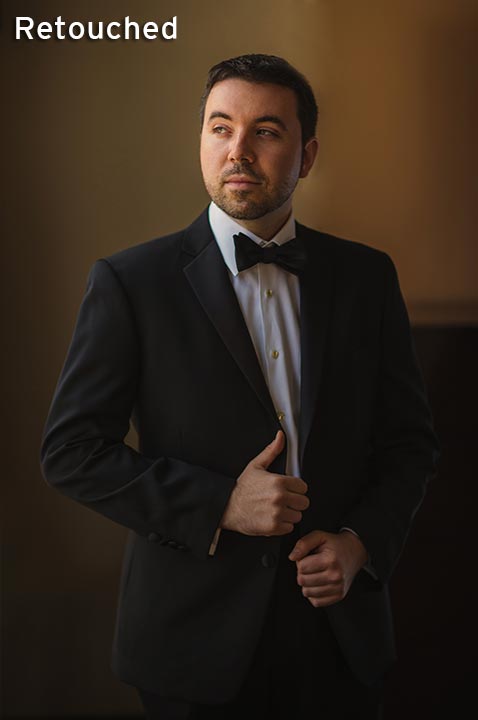
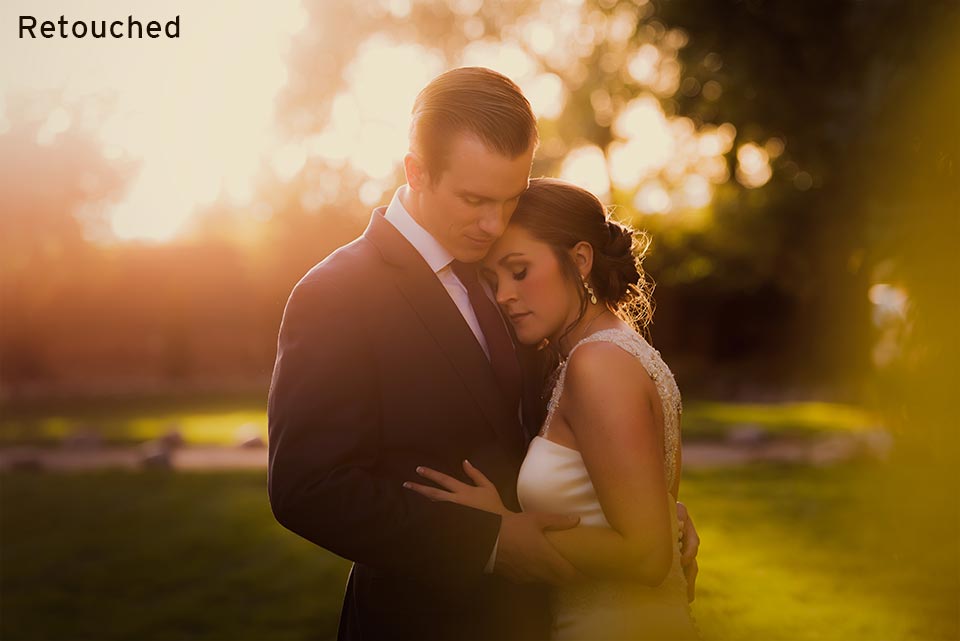
This image itself has lots of great glow and mood that I didn't want to interfere with it. I wanted to improve the contrast between them as it was pretty flat and also darken some areas that didn't need to grab the viewers attention as much.
This can easily get out of hand and be very noticeable in a print. I call it the Photoshop haircut cause when you look at it up close you can see a hard edge where someone just painted all the hair and the resulting edge is very unnatural looking. I don't want to completely remove the stray hairs, leaving some results in a natural real look. It is a normal thing. No one's hair is completely controlled. In fact, that might look rather weird and sci fi.
For his image I wanted to control the hair on top of her head while leaving some to maintain that natural look. He also had two stragglers that popped out. I also removed some bugs, stray grass blades, and tightened up the contrast to really make the sunset colors pop.
You want to work with what is already within the image but really bring out the unique qualities of them that, without retouching, blend in to the overall image.
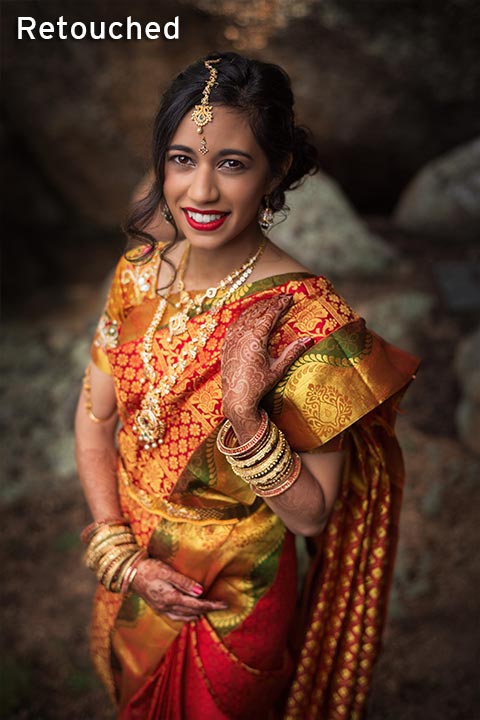
The woman on the left had this great peacock headpiece that I wanted to feature while taking the photograph but when I began to retouch it I discovered the colors went well with her eyes. I wanted to bring that out more and tie them together. I also used a rather dramatic vignette to eliminate the room and added blues to the shadows to make for a better visual separation from the skin and the headpiece and earring.
The photograph on the right had such a unique and soft quality that I wanted to maintain but bring the focus to her eyes more. I also adjusted the color as the edited image is just a sea of soft yellow. Just a lot more control of placing the highlight and shadows to exaggerate the contrast and tone without losing the soft feel. Also defined the shape of her eyes a bit more.

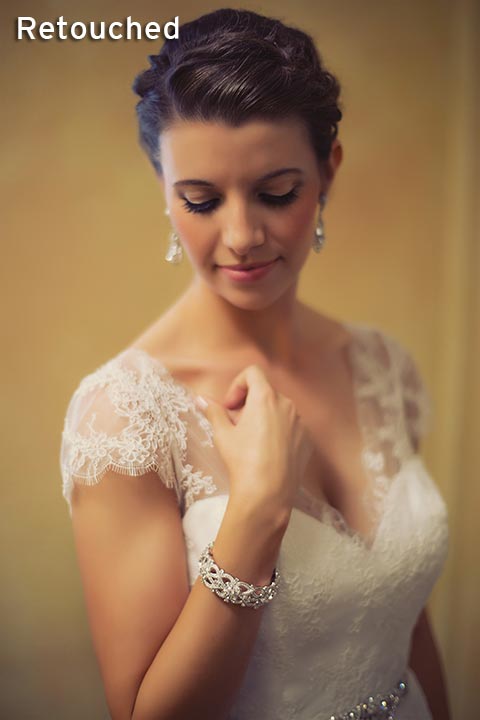
A lot of the time images are really good with the exception of some distracting details. They aren't a big deal, but when fixed or removed they just release the viewer's eye to focus on what is important.
In the image on the left there was a tiny sliver of light coming through the tree next to her off camera and resulted in a hot spot on her chest. Not a dealbreaker by any means but not something you can take out effectively with editing. I also removed a tiny sliver of light in her hair and added contrast to the bouquet.
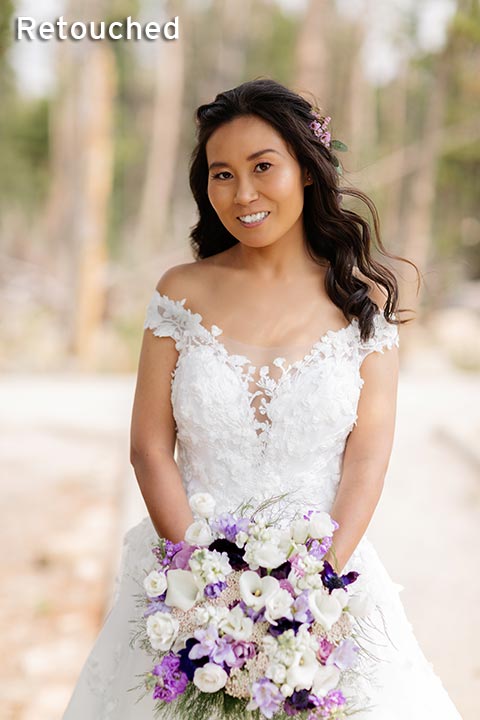
For the image on the right the bride had so many great details that they just needed some fine tuning on the contrast and removed the bright spot in the background. I also wanted to increase the brightness and details in her eyes to really focus your attention.
Retouching on couple images is great. In most cases the settings when editing need to work with the overall image. With retouching you can go in with precision and address and adjust specific spots.
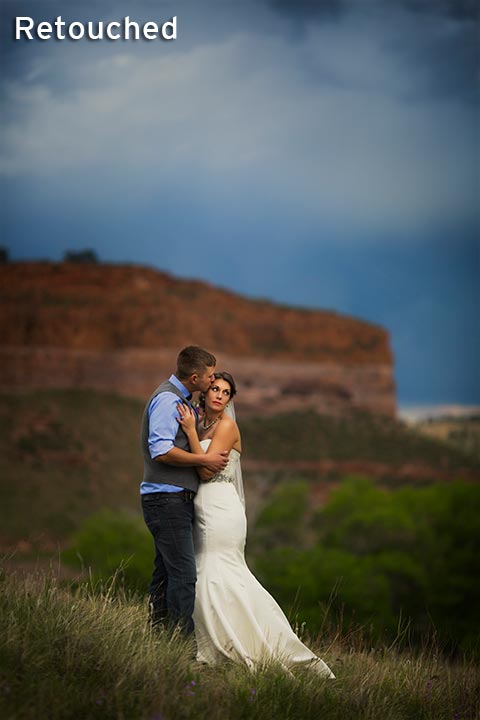
The image on the left I wanted to really bring out her eyes and adjust the shadows on her face to maintain focus. The colors also had great contrast so I pushed those too.
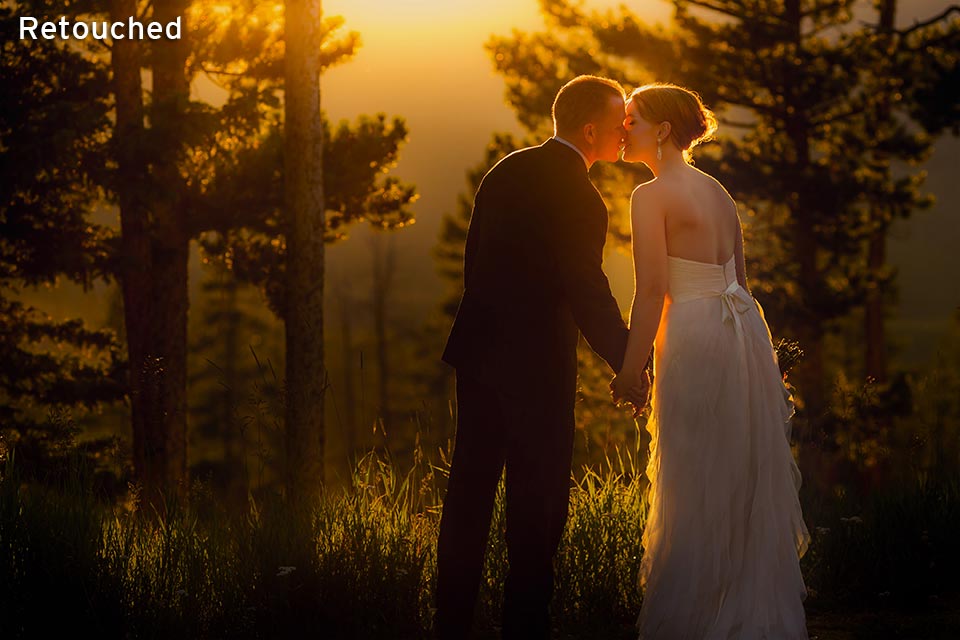
For the image on the right I wanted to bring that sky back and add in some saturation as well as some more sharpness to him and the tiny details in the back of her dress. I also wanted to just bring home the mood of the sunset.

I am available for all of Colorado and destination weddings, elopements, and engagements. I love to wander.